How to Brine Chicken Breast
Table of Contents
Every home cook has faced the disappointment of dry, bland chicken. It’s that moment when you cut into what should be juicy, but it’s tough and tasteless. But, there’s a simple trick to make your chicken breast amazing.
Chicken brine is a secret used by chefs to make chicken moist and flavorful. Learning how to brine chicken breast will make your meat moist, flavorful, and tender every time.
This guide will teach you the art and science of chicken brine. You’ll learn professional techniques to improve your cooking and impress everyone. Whether you’re a weekend cook or a home chef, mastering chicken brine will change your poultry cooking forever.
Key Takeaways
- Brining enhances chicken breast moisture and flavor
- Optimal brining time is 30-60 minutes
- Use kosher salt for best results
- Avoid brining longer than 2 hours to prevent over-salting
- Refrigerate chicken during brining process
Understanding the Science Behind Brining
Chicken brine is more than just a simple saltwater solution. It’s a culinary technique that changes meat at a molecular level. By understanding the science behind brining, you can make chicken juicy and flavorful every time.
The Role of Salt and Water
Salt is key in the chicken brine process. It breaks down proteins, letting water get deep into the meat. This keeps your chicken moist while it cooks.
How Osmosis Works in Brining
Osmosis is the main mechanism in chicken brine. When salt levels in the brine and meat are different, water moves through cell membranes. This spreads moisture and seasonings evenly in the chicken.
| Brining Aspect | Scientific Impact |
|---|---|
| Salt Concentration | Breaks protein bonds |
| Water Movement | Increases moisture retention |
| Protein Denaturation | Improves meat texture |
Chemical Changes in Meat Structure
During brining, proteins in chicken undergo denaturation. This changes the protein molecules, making the meat tender and juicy. The result is a chicken dish that’s much better than usual.
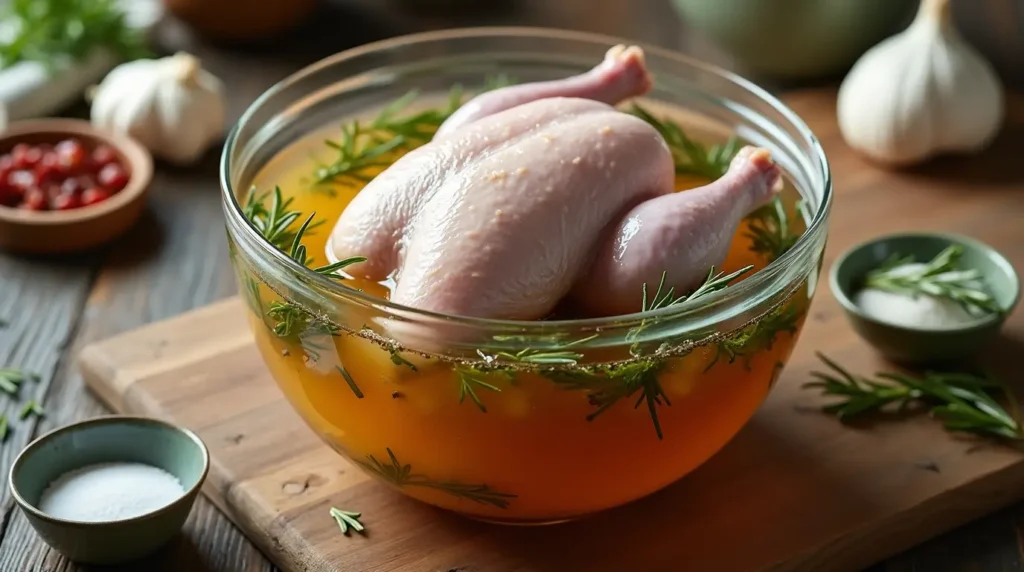
Essential Ingredients for Perfect Chicken Brine
To make the perfect brine chicken, you need to know the key ingredients. A brine is made of salt and water. These two are the basics that make chicken juicy and full of flavor.
The right mix of salt and water is crucial. Here’s what you should use:
- 3 cups of water
- 2 tablespoons of kosher salt
- 1 tablespoon of pink Himalayan salt (alternative)
But you can add more to your brine to make it even better. Try these:
- Aromatics: Crushed garlic cloves
- Herbs: Dried thyme, basil, oregano
- Spices: Fennel seeds, whole peppercorns
Make sure to mix your ingredients in cold water. This helps the chicken absorb the flavors well and keeps it safe to eat. Your goal is to make the chicken moist and flavorful.
| Ingredient | Quantity | Purpose |
|---|---|---|
| Water | 3 cups | Hydration base |
| Kosher Salt | 2 tablespoons | Seasoning and moisture retention |
| Garlic | 2 cloves | Flavor enhancement |
| Dried Herbs | 1 tablespoon each | Aromatic complexity |
Remember, different chicken pieces need different brining times. Breasts take 1-2 hours, while whole chickens need 3-4 hours. Always keep your brine cold and don’t overdo it to avoid too much salt.
Basic Chicken Breast Brine Recipe
Making a great brine chicken recipe is an art. It turns simple chicken breasts into juicy, tasty dishes. Knowing the right way to do it can make your cooking much better.
A good brine recipe needs the right mix of ingredients and technique. The key is the salt-to-water ratio. It keeps the chicken moist and adds flavor.
Salt-to-Water Ratio Guidelines
For a perfect brine, use these exact amounts:
- 4 cups cold water
- 6 tablespoons Diamond Crystal kosher salt
- 4½ tablespoons Morton’s kosher salt
- 3 tablespoons fine or table salt
Optional Flavor Enhancers
Add these scents to make your brine even better:
- 1-2 cloves of garlic
- 1 teaspoon black peppercorns
- 2-3 bay leaves
- Optional: honey, maple syrup, soy sauce, or Worcestershire sauce
Temperature Considerations
Temperature is key in your brine recipe. Brining time should be between 30 minutes to 4 hours. Always chill the chicken if brining for more than 30 minutes to stop bacteria growth.
Pro tip: Let your chicken rest for a few minutes after brining. This helps the juices spread evenly. It makes the chicken tender and full of flavor.
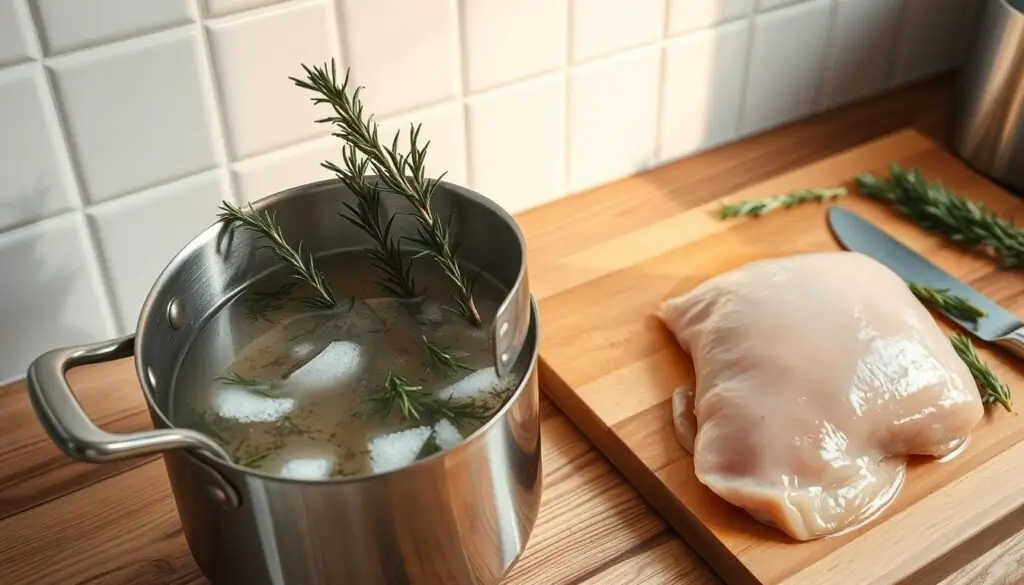
Chicken Brined: Step-by-Step Process
Brining chicken breast is all about precision and technique. It turns regular chicken into a juicy, flavorful dish. This will take your cooking to the next level.
Here’s how to brine chicken breast the right way:
- Start by making your brine solution. Use 1/2 cup kosher salt for every 8 cups of water.
- Choose a container that won’t react with the brine, like stainless steel or glass.
- Make sure the chicken is fully covered in the brine.
- Keep the brining container in the fridge.
For boneless, skinless chicken breasts, brine them for 30 minutes to 2 hours. Bone-in pieces need about 4 hours. Remember these brining times:
- Brine at room temperature for 30 minutes to 1 hour.
- Brine in the fridge for 1 to 2 hours.
- Don’t brine for more than 2 hours.
Once brined, dry the chicken with paper towels. This step is key for even seasoning and a golden-brown crust when cooked.
Pro tip: Always use food-safe containers and keep the brining area cold to avoid bacterial growth.
With these steps, you’ll get chicken breasts that are perfectly seasoned and tender. They’ll impress anyone who tries them.
Optimal Brining Times and Temperature
Mastering chicken brine is all about finding the right balance of time and temperature. Your brining skills can turn a simple chicken breast into a juicy, flavorful dish.
The time you brine your chicken greatly affects its texture and taste. Most chefs agree that brining for 30 minutes to 2 hours is best.
Short vs. Long Brining Duration
Here are some tips for brining times:
- Quick Brine (30-60 minutes): Great for quick meals, adds a light touch of flavor
- Medium Brine (1-2 hours): Boosts moisture and flavor
- Extended Brine (2-12 hours): Best for deep flavor, but be careful not to over-salt
Cold vs. Warm Brine Solutions
Choosing the right brine temperature is key for safety and taste. Always use cold water for chicken brine to avoid bacterial growth.
Pro tip: Always refrigerate your brine and keep the chicken cold during the process.
A typical chicken brine uses cold water with ½ cup kosher salt per 1 gallon. This ratio ensures the meat is well-seasoned without losing its quality.
Common Brining Mistakes to Avoid
Many home cooks face challenges when brining chicken breast. Knowing these common mistakes can help you make your chicken taste great and stay tender.
One big mistake is over-brining. Too much salt can make your chicken too salty. The golden rule is timing: for boneless chicken, brine for 30 minutes to 1 hour max.
- Avoid using table salt – always choose kosher salt for brining
- Never brine at room temperature to prevent bacterial growth
- Rinse your chicken thoroughly after brining to remove excess salt
- Use cold water and refrigerate during the entire brining process
Keeping the chicken at the right temperature is key. It should be between 34-40°F. This stops harmful bacteria and helps the salt soak in better. Your fridge is the best place for this.
“Brining is a delicate science that requires precision and patience.” – Professional Chef Recommendation
Don’t forget about the salt-to-water ratio. Use about 1 tablespoon of kosher salt per cup of water. Too little salt won’t get into the meat. Too much makes it too salty.
Flavoring Your Brine with Herbs and Spices
Turning a simple brine chicken recipe into a masterpiece is all about choosing the right herbs and spices. The right mix can make your chicken truly special, adding depth and character to every bite.
Making the perfect brine is more than just salt and water. Different herbs and spices can create unique flavors that enhance your chicken’s taste.
Classic Seasoning Combinations
Some seasoning blends are sure to make your brine chicken recipe unforgettable:
- Mediterranean Blend: Rosemary, thyme, and garlic
- Aromatic Herb Mix: Sage, bay leaves, and peppercorns
- Citrus Infusion: Lemon zest, whole cloves, and juniper berries
Regional Flavor Profiles
Try global flavors by adding regional spice mixes to your brine:
| Region | Signature Spices | Flavor Profile |
|---|---|---|
| Middle Eastern | Cardamom, cumin, coriander | Warm, complex |
| Asian | Star anise, ginger, five-spice | Bold, aromatic |
| Cajun | Cayenne, paprika, dried herbs | Spicy, robust |
When making your brine chicken recipe, remember to balance your flavors. Start with small amounts of herbs and spices and adjust to your liking.
Post-Brining Preparation Techniques
Learning how to brine chicken breast is just the start. The steps after brining are key to getting great taste. Handling the chicken right keeps it juicy and safe to eat.
Here’s what to do when taking the chicken out of the brine:
- Pat the chicken breasts dry with paper towels
- Don’t rinse the chicken to avoid spreading bacteria
- Put the chicken on a clean cooling rack
- Let it rest at room temperature for 15-20 minutes
Drying the chicken well is very important. Too much moisture can stop it from browning and getting crispy. It’s all about getting rid of surface moisture without losing the brine’s moisture inside.
| Chicken Type | Wet Brining Time | Dry Brining Time |
|---|---|---|
| Boneless Chicken Fillets | 1-2 hours | 3-6 hours |
| Whole Chicken | 8-12 hours | 12-24 hours |
| Chicken Thighs | 2-4 hours | 4-8 hours |
Before cooking, you can add more flavor to your brined chicken. A sprinkle of herbs or a quick spice rub can make it even tastier.
Cooking Methods for Brined Chicken
After brining your chicken, you’ll want to try different cooking methods. These methods can make your dish even better. Whether you’re using a smoked chicken brine or a fried chicken brine, the right method can take your dish to the next level.
Brined chicken is very versatile in the kitchen. It’s moist and full of flavor, making it perfect for many cooking techniques.
Baking Temperature Guidelines
When baking brined chicken, follow these important temperature tips:
- Preheat oven to 350°F (180°C)
- Cook for about 50-60 minutes
- Make sure the internal temperature is 165°F (74°C)
- Let it rest for 10-15 minutes after cooking
Grilling and Pan-Searing Tips
If you like cooking outdoors or on the stovetop, here are some tips for grilling and pan-searing brined chicken:
| Cooking Method | Temperature | Cooking Time |
|---|---|---|
| Grilling | 400-425°F | Approximately 10 minutes per chicken breast |
| Pan-Searing | Medium-High Heat | 6-8 minutes per side |
Pro tip: Don’t add extra salt when cooking your brined chicken. The brine has already seasoned it well. A smoked chicken brine or fried chicken brine will add plenty of flavor without extra seasoning.
Remember, the key to perfectly cooked brined chicken is monitoring internal temperature and allowing proper resting time.
Storage and Food Safety Guidelines
Storing chicken brine right is key to keeping food safe and stopping bacteria. When you handle chicken brine, you must follow certain rules. This is to keep you and your family safe from foodborne illnesses.
You can store your brined chicken in the fridge for up to 3 days. Freezing is also a good choice, letting you keep your chicken brine for up to 2 months.
Key Storage Recommendations
- Always store chicken brine in airtight containers
- Maintain refrigerator temperature below 40°F
- Use clean, sanitized containers for storage
- Label containers with preparation date
Food Safety Precautions
The FDA says to keep raw meats at room temperature for no more than 2 hours. If it’s hotter than 90°F, it’s 1 hour. When working with chicken brine, always control the temperature and keep things clean.
| Storage Method | Maximum Duration | Temperature |
|---|---|---|
| Refrigerator Storage | 3 days | Below 40°F |
| Freezer Storage | 2 months | 0°F or lower |
Pro tip: Always thaw frozen brined chicken in the refrigerator. This ensures safe temperature changes and stops bacteria growth.
“Food safety is not an option, it’s a necessity.” – Food Safety Expert
By sticking to these chicken brine storage tips, your meat will stay tasty, safe, and free from harmful bacteria.
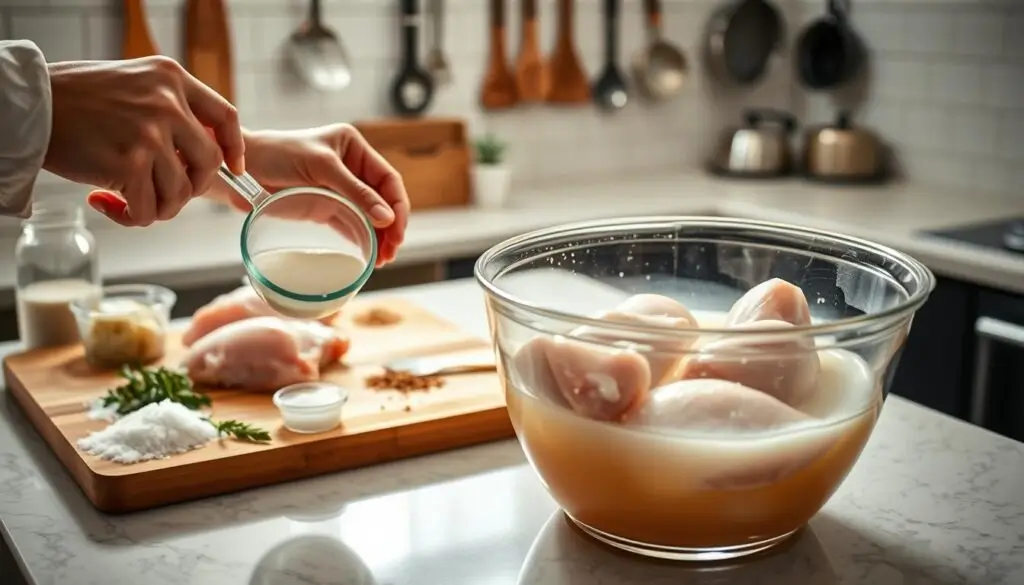
Alternative Brining Methods
Exploring brine chicken recipe options reveals exciting alternatives to traditional wet brining. Dry brining is a simple yet effective method for boosting chicken flavor and moisture.
Dry brining changes your brine chicken recipe by using a different method. Instead of soaking chicken in liquid, you sprinkle kosher salt directly on the meat. This method lets salt penetrate deeply, creating a rich flavor.
- Dry Brining Benefits:
- Crispy skin development
- Less messy preparation
- Concentrated flavor absorption
Another innovative technique is injection brining. You use a meat injector to add seasoned liquid into the chicken breast. This method ensures even flavor and keeps the chicken moist.
For those who love to experiment, there are unique liquid alternatives:
- Apple juice
- Beer
- Pickle juice
- Buttermilk
Each alternative brining method has its own benefits. Your choice depends on your taste, available time, and desired flavor. Trying these techniques will improve your chicken cooking skills.
Conclusion
Learning to brine chicken breast is a skill that makes ordinary chicken into something special. It’s not just about seasoning. It’s about making chicken that’s moist and full of flavor, impressing everyone who tries it. By learning the science of brining and trying different methods, you can cook like a pro.
Starting your brining journey opens up a world of creativity in cooking. It’s all about practicing and finding what you like best. With the right mix of salt and water, and the right brining time, your chicken will stay juicy. Remember, each time you brine, you get better at it.
Brining lets you try all sorts of flavors. You can use classic herbs, try apple juice, or different salts. Brining chicken becomes a fun adventure in the kitchen. Trust your taste and enjoy the tasty results of your brining skills.
Brining is more than a cooking trick. It’s a way to make meals that everyone will love. By mastering how to brine chicken, you’ll become a more confident and skilled cook at home.
FAQ
What is brining and why should I do it?
Brining is a method of soaking chicken in saltwater. It makes the meat juicy and flavorful. The salt helps the chicken absorb more water, keeping it tender.
How long should I brine chicken breasts?
Brining time varies with chicken size. For boneless breasts, aim for 30 minutes to 2 hours. Longer than 2 hours can make the meat too salty.
What type of salt should I use for brining?
Use kosher salt for brining. It dissolves well and adds great flavor without a metallic taste. Avoid iodized salt, as it can taste bitter.
Can I add other ingredients to my brine?
Yes, you can! Add herbs, spices, citrus zest, garlic, and peppercorns. These enhance flavor and keep the chicken moist.
Do I need to rinse the chicken after brining?
No, don’t rinse the chicken. Just pat it dry with paper towels. Rinsing can spread bacteria and remove the flavorful brine.
Can I brine frozen chicken?
Thaw chicken before brining. Brining frozen chicken can lead to uneven salt absorption. Always thaw in the fridge before brining.
Is there a difference between wet and dry brining?
Wet brining involves soaking chicken in saltwater. Dry brining means rubbing salt on the chicken’s surface. Both methods help with moisture, but wet brining is more effective.
Can I brine organic or kosher chicken?
Some kosher and organic chickens are already salt-treated. Check the packaging or ask your butcher if extra brining is needed.
How does brining affect cooking times?
Brined chicken cooks faster and more evenly. Still, use a meat thermometer to ensure it reaches 165°F (74°C).
Can I use table salt instead of kosher salt?
While possible, it’s not recommended. Table salt is denser and can make the brine too salty. If using table salt, reduce the amount by about 50% to avoid over-salting.
Leave a Review
I love hearing from you! Submit your question or recipe review here. Your email address will not be published. Required fields are marked *
There are no reviews yet. Be the first one to write one.